The Ultimate Guide to Making a Contact Sheet
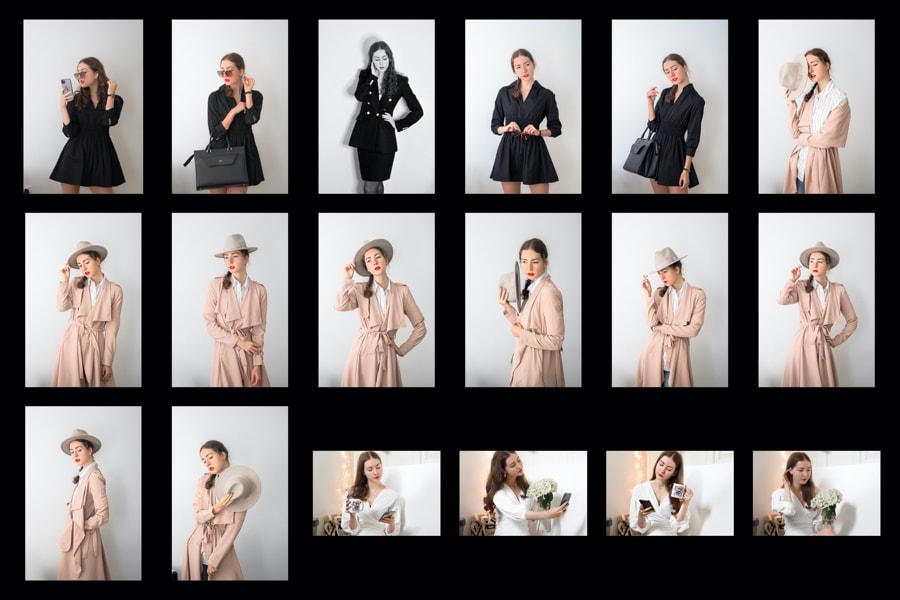
A contact sheet made from pictures of a model.
Back when film photography reigned supreme, film photographers compared their images by printing them onto a piece of paper called a contact sheet. You may also see a contact sheet called a contact proof or a contact print. Contact sheets get their name from how they are made - placing negative film photography strips directly onto photographic paper to make a print.
And while digital photo editing software is the norm today, contact sheets have survived the transition to digital, albeit serving slightly different purposes than they did in the past. During the days of traditional film photography, contact sheets were the primary way photographers could look through various columns and rows of photos to decide which ones were worth developing.
In the digital era, a contact sheet functions more as a photo gallery, where you arrange the photos in a standard grid format rather than a carousel. You can think of a contact sheet as a page of thumbnails that allows you to quickly scan a series of images without needing to scroll.
Despite deviating from the original purpose, contact sheets are still critical tools in any photographer's arsenal - both professional and amateur. They're an excellent tool for comparing your images and a more convenient way of checking photos than looking at each individually. And crucially, many clients and agencies still request them.
With this in mind, let's dive into how to make a contact sheet using TurboCollage. We'll show you how to make two types of contact sheets - simple sheets where thumbnails are rectangular and those where thumbnails are in a particular shape.
But before we get started, you first need to download and install TurboCollage. Luckily, download and installation take less than a minute!
How to Make a Simple Contact Sheet
Okay, so you've downloaded TurboCollage and are ready to start. What next?
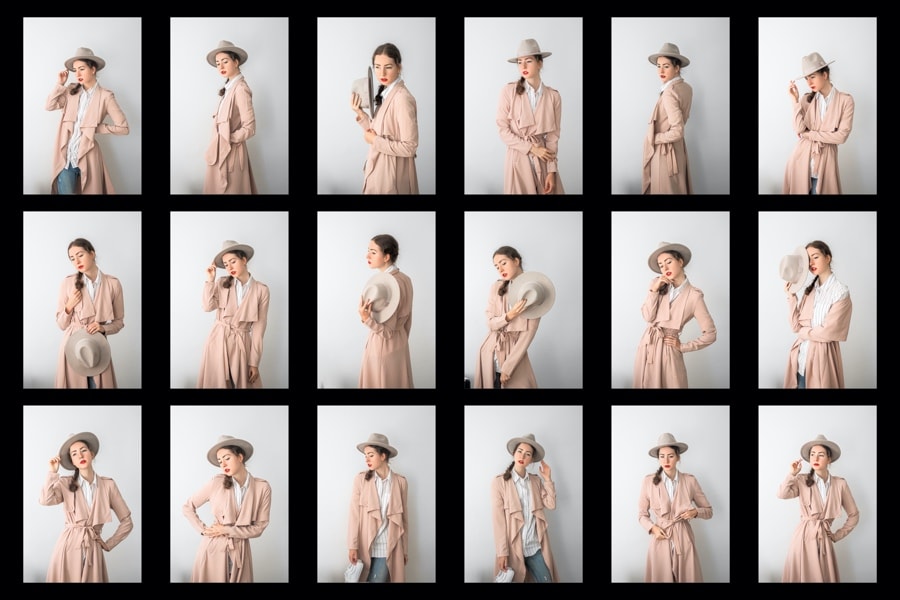
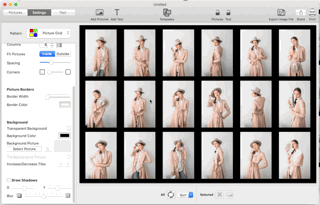
A contact sheet made from photos of a female model wearing a hat and posing in many ways.
Step 1: Fire Up the Photo Contact Sheet Maker
Now that you've got your contact sheet maker software, you first need to open TurboCollage. Next, navigate to the Settings tab, select the Picture Grid pattern, and set an output size for your collage. You can follow the example below.
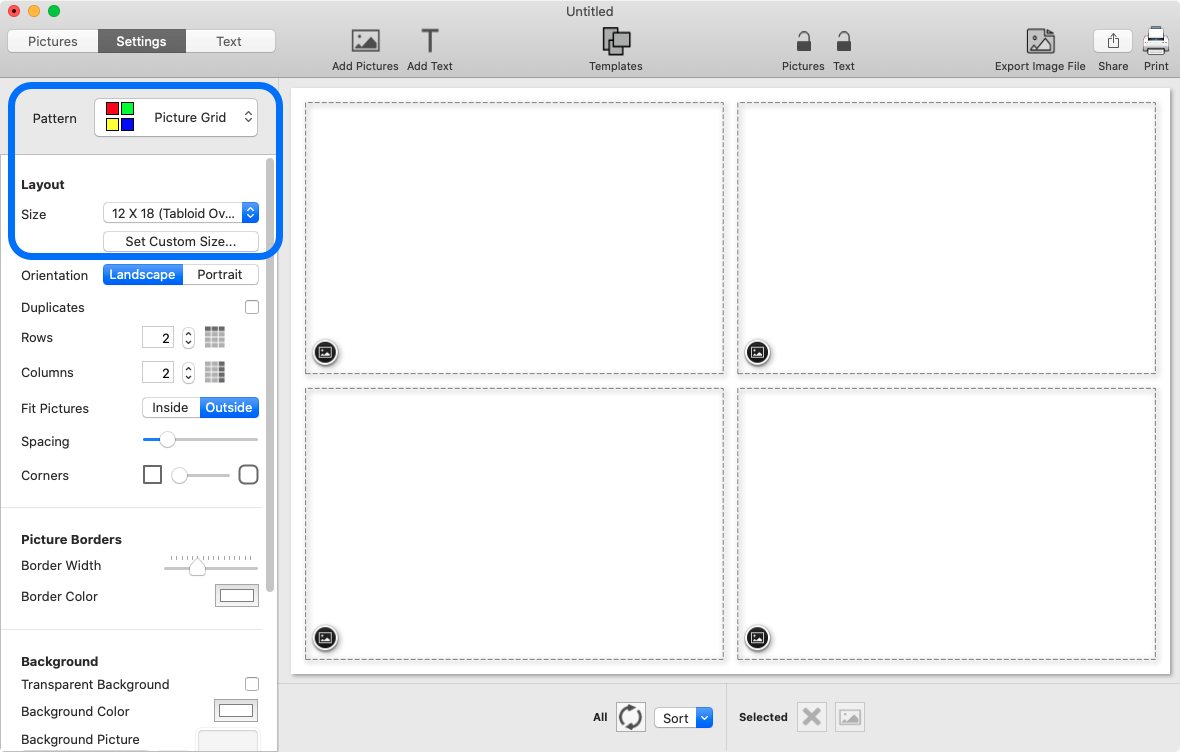
Screenshot of TurboCollage highlighting the controls used to select the Picture Grid pattern and to set an output size.
Step 2: Add Pictures
Now it's time to add the pictures you want to appear on your sheet. Select the Pictures tab and hit the +/Add Pictures button to do this.
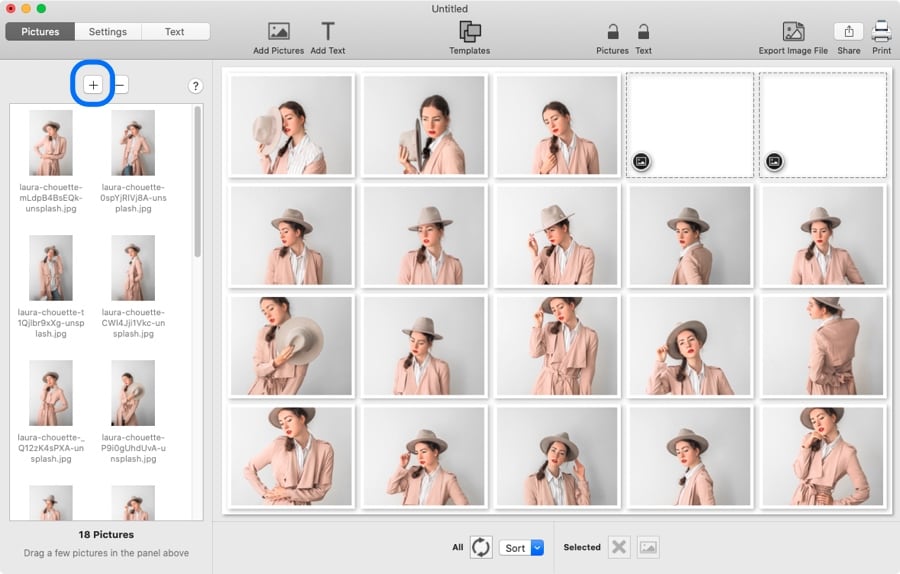
Screenshot of TurboCollage highlighting the control used to add pictures to the contact sheet.
Step 3: Decide the Layout
Set Fit Pictures to Inside. This ensures that the pictures are not cropped. In addition, modify the number of rows and columns per the requirement. Here, we have used 3 rows and 6 columns to accommodate the 18 images used in this example, but you can use whatever setup makes the most sense for your photos.

Screenshot of TurboCollage highlighting the controls used to modify the number of rows and columns and the control to ensure that pictures don't get cropped in the contact sheet.
Step 4: Make Some More Layout Tweaks
Set the Background Color to Black. Turn Draw Shadows off. Reduce Border Width to a minimum and modify Spacing as per requirement. These are optional, and you may change these steps as you like. Feel free to play around and see what looks the best to you.
You can sort the photos by name or modification time using the Sort control at the bottom.
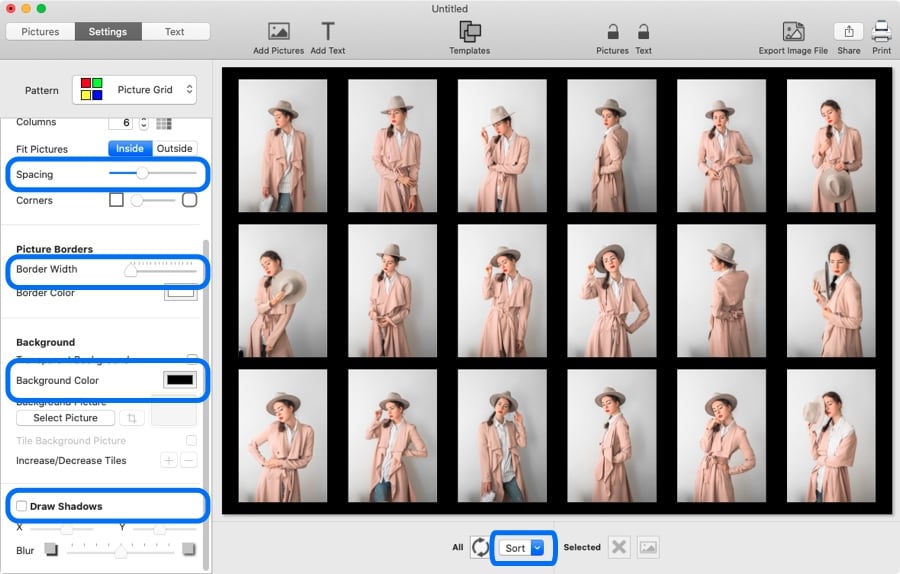
Screenshot of TurboCollage highlighting the control used to change the background colour. Notice the sort pictures control at the bottom.
Step 5: Rearrange Photos
You may want to rearrange the photos in your contact sheet to achieve a more dramatic sequence or to highlight specific photos in areas to which the eye is naturally drawn. Simply drag the picture to change its location.
Step 6: Export and Use Your Contact Sheet!
Export the created contact sheet to a JPG image you can print, email, or share by selecting Export Image File, located at the top right of the window.
If you want to see this process in action, watch this video on how to create a contact sheet.
How To Make a Contact Sheet With Thumbnails in a Given Shape
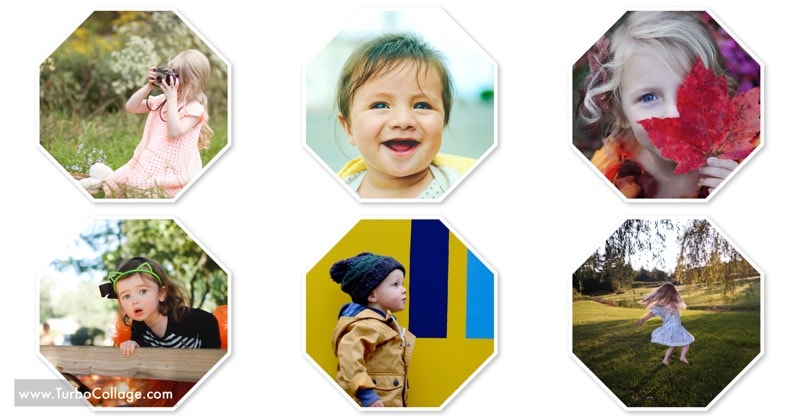
Not a fan of rectangular thumbnails or simply want to achieve a different look? There's good news - you can design contact sheets where the thumbnails are squares, octagons, triangles, hearts, and more. Here's how.
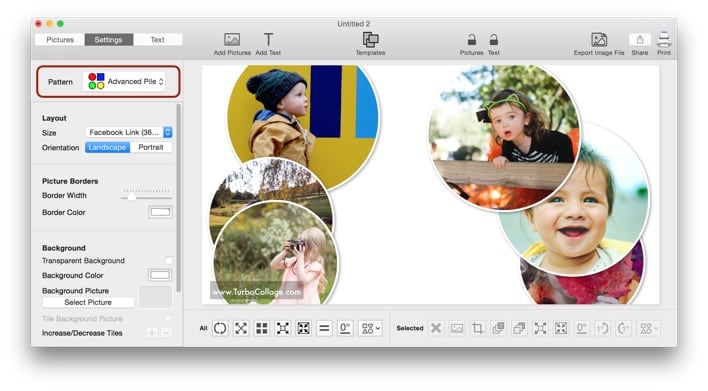
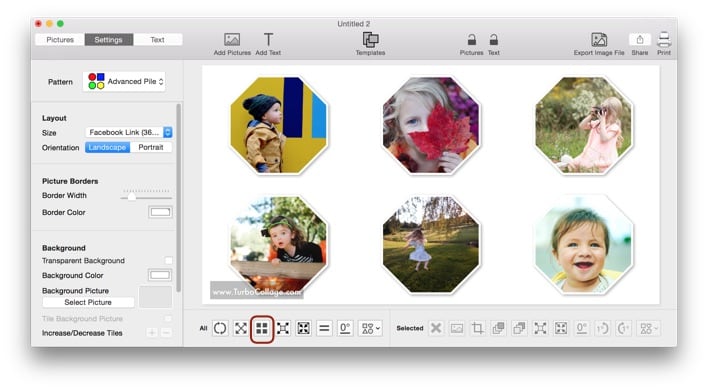
Step 1: Select Advanced Pile Pattern
Open TurboCollage and select the Advanced Pile pattern under the Settings tab.
Step 2: Add Pictures
Add your pictures as you did in the last section. It's important to note that all images are set to a circle shape by default, but you can change this in the next step.
Step 3: Select Your Shape of Choice
Select all your photos and navigate to the shape selection tool on the bottom pane. You can choose from a variety of shapes, so have fun seeing what works best for your photos.

Step 4: Make Your Photos Easier to View
After selecting your shape of choice, you'll notice your photos are stacked on top of each other, obscuring some images from view. To correct this, use the 'spread out to regular arrangement' control at the bottom, as shown below.
Wrapping Up
Knowing how to make a contact sheet is essential for both fledgling photographers and seasoned professionals alike. Contact sheets make comparison and presentation of your photos easy. They can help unlock your creativity when it comes to deciding which images you want to focus on further.
Luckily, TurboCollage has you covered. By reading this article, you should have a clear understanding of how to make different types of contact sheets to suit your needs. If you want to do more with your photos, you can learn about creating collages with shapes here.
Don’t forget to email your comments and suggestions to apps@silkenmermaid.com