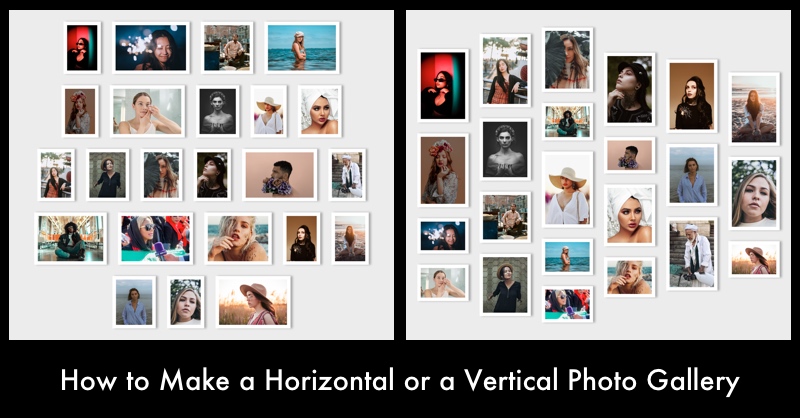
How to Make a Photo Gallery
![Make Photo Gallery](https://storage.googleapis.com/turbocollage-res/assets/images/blog/make-photo-gallery/make-photo-gallery.jpg)
Are you looking to make a photo gallery with pictures arranged horizontally in rows or vertically in columns?
This article will show you how to make a photo gallery using TurboCollage software. (You need TurboCollage v7.1.1 or newer.)
We will design two formats of photo gallery, as shown in the sample images below.
![Photo Gallery With Pictures Arranged Vertically in Columns](https://storage.googleapis.com/turbocollage-res/assets/images/blog/make-photo-gallery/vertical-photo-gallery-with-columns.jpg)
Photo Gallery With Pictures Arranged Vertically in Columns
![Photo Gallery With Pictures Arranged Horizontally in Rows](https://storage.googleapis.com/turbocollage-res/assets/images/blog/make-photo-gallery/horizontal-photo-gallery-with-rows.jpg)
Photo Gallery With Pictures Arranged Horizontally in Rows
If you don't have TurboCollage installed on your computer, download and install it here; it's available for Mac and Windows PC.
Anyone can do it — no design background, no expertise required!
Steps to Make a Photo Gallery:
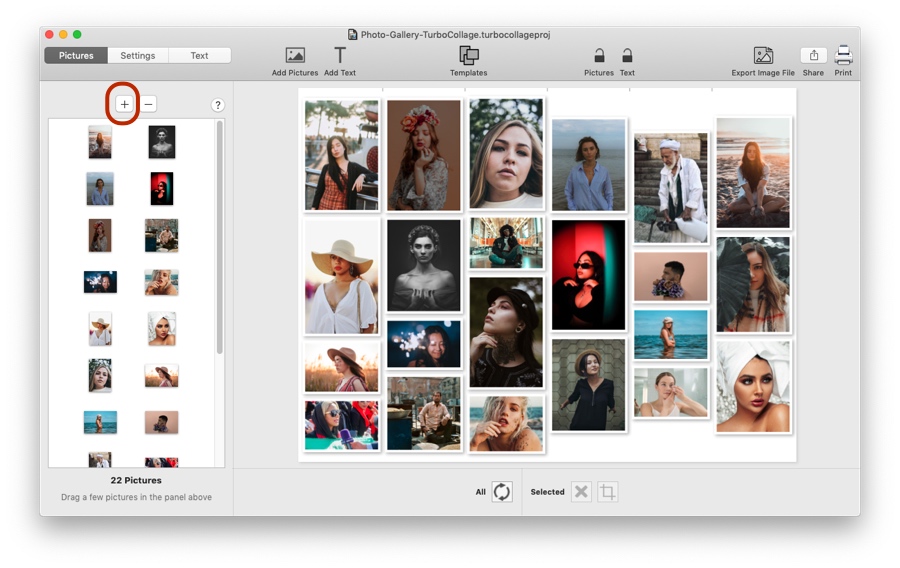
1. Open TurboCollage and set your collage to use the Gallery pattern.
![Select Gallery Collage Pattern](https://storage.googleapis.com/turbocollage-res/assets/images/blog/make-photo-gallery/select-gallery-pattern.jpg)
2. Add pictures to your Photo Gallery.
![Add Pictures to Photo Gallery](https://storage.googleapis.com/turbocollage-res/assets/images/blog/make-photo-gallery/add-pictures-to-gallery.jpg)
3. Set your gallery to use a row-based or a column-based photo arrangement.
![use a row-based or a column-based photo arrangement](https://storage.googleapis.com/turbocollage-res/assets/images/blog/make-photo-gallery/select-gallery-direction.jpg)
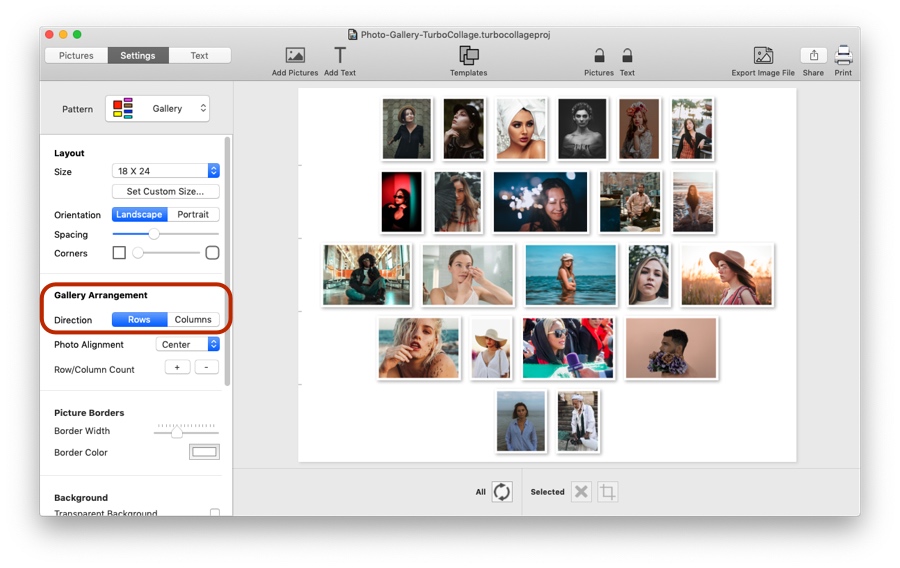
4. You can further customize the photo gallery as shown in the following video:
Don’t forget to send your comments and suggestions to apps@silkenmermaid.com