How to Make a Panorama Collage

Large panoramic collage posters are a great way to shine up the walls of your house. They look great in all forms — tall portrait panoramas or flat landscape mosaics.
Most people think creating such a collage would be a costly exercise — you might have to hire a designer or learn Photoshop.
Here’s the deal:
With TurboCollage, you can quickly stitch your photos horizontally or vertically to create gorgeous panorama collages. It doesn’t require design experience or expertise!
Before we get started, download and install TurboCollage. It takes less than a minute to download and complete the installation.
Steps to Make a Panorama Collage:

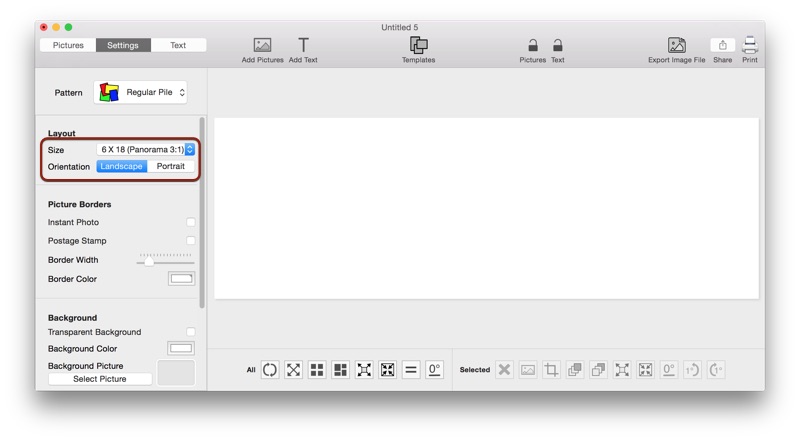
1. Open TurboCollage and set your collage to use one of the available panorama photo sizes - 6 X 12, 6 X 18, and 6 X 24 or create a custom size as per your requirement.
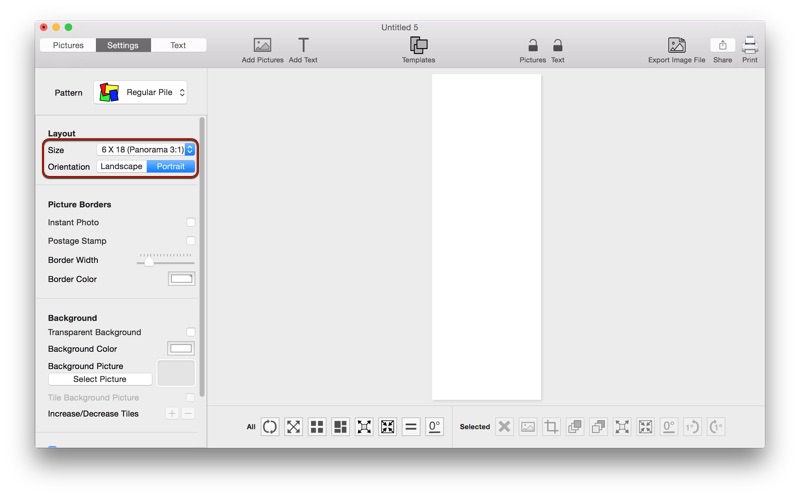
2. If you want to make a tall/vertical panorama, set orientation to Portrait.
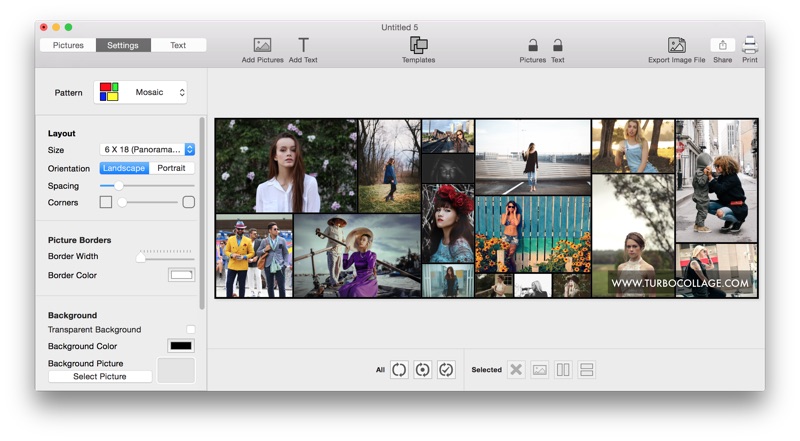
3. Select the collage pattern of your choice — photo grid, picture pile etc. In the above example, we have used the Photo Grid (Unequal) pattern.
4. Add pictures to your collage.
5. Design your collage; you can learn more about designing a collage in tutorials.
6. Export collage as an image file and print it using your local printer or your favorite printing service.
The above steps are illustrated in the following video:
Tweet This Panorama Collage Making Method